
This past weekend I started working on the boot cowl and covering some small items.
The boot cowl has been going together pretty good. I’ll try to get some pictures up soon. The last post mentioned the firewall. This past weekend I worked on getting the bottom and one side panel fit up. The bottom panel took a little bit of work to get fit. One thing that cause a minor issue was that the weld in the center of the bottom tube protruded forward of the fuselage. This meant that the flange on the bottom skin wouldn’t sit flat against the firewall. The issue that it caused was that there is an opening on the bottom skin for the nosewheel strut exit. This isn’t needed for my plane, but there is still support structure for those who do use a nosewheel welded into the fuselage. The opening in the skin slides over this structure a little. All that I had to do was open up the hole on the bottom skin some and it slid right over and all was right in the world.
I also got one side of the boot cowl fit up with the help of some friends that stopped by. We got the tape on the fuselage to mark the centerline of the tube on the door frame and proceeded to line up the side skin. As noted by some other builders, the manual mentions that the cut out in the bottom of the side skin should line up with the bottom of the fuselage tube. In reality, it lines up right around the centerline. This is the only way for it to be in line with the center of the door frame tube. Not a showstopper, but required some additional thinking which can be troublesome for us kit builders.
That was all done on Friday. Sunday I started covering an aileron and the left stabilizer. I decided a few weeks ago to take the plunge and switch to Stewart Systems for the covering process. The main benefit to me was a less hazardous glue and primer/UV Blocker/filler than Superflite (which is what ships with the covering kit). The glue has a very faint odor and cleans up with water pretty well if it is still wet. This means you could glue fabric almost anywhere. It took some figuring out the first day. I’m the first brave soul around my local airport to try this stuff so I read the books, watched the videos and set out to give it a go. I had some help from an airport guy who uses Polyfiber. The biggest adjustment for him was letting the glue dry on the frame itself. Stewart Systems has you apply glue to the frame and then let it dry. It then becomes tacky and you can lay the fabric onto the glue and it will stick, but not enough to keep you from removing it. This means that in theory, you shouldn’t have to work with wet glue while trying to get the fabric to lay down.
Once the fabric is where you want it, you run a 250 degree iron down the center of the tube to cement it into place. This is a pretty strong bond and gets the fabric ready to be glued the final time. The last step is to brush a coat of glue on top of the bonded area to completely soak the fabric creating the actual bond. You wipe the excess glue off with a shop towel to make everything pretty down the road.
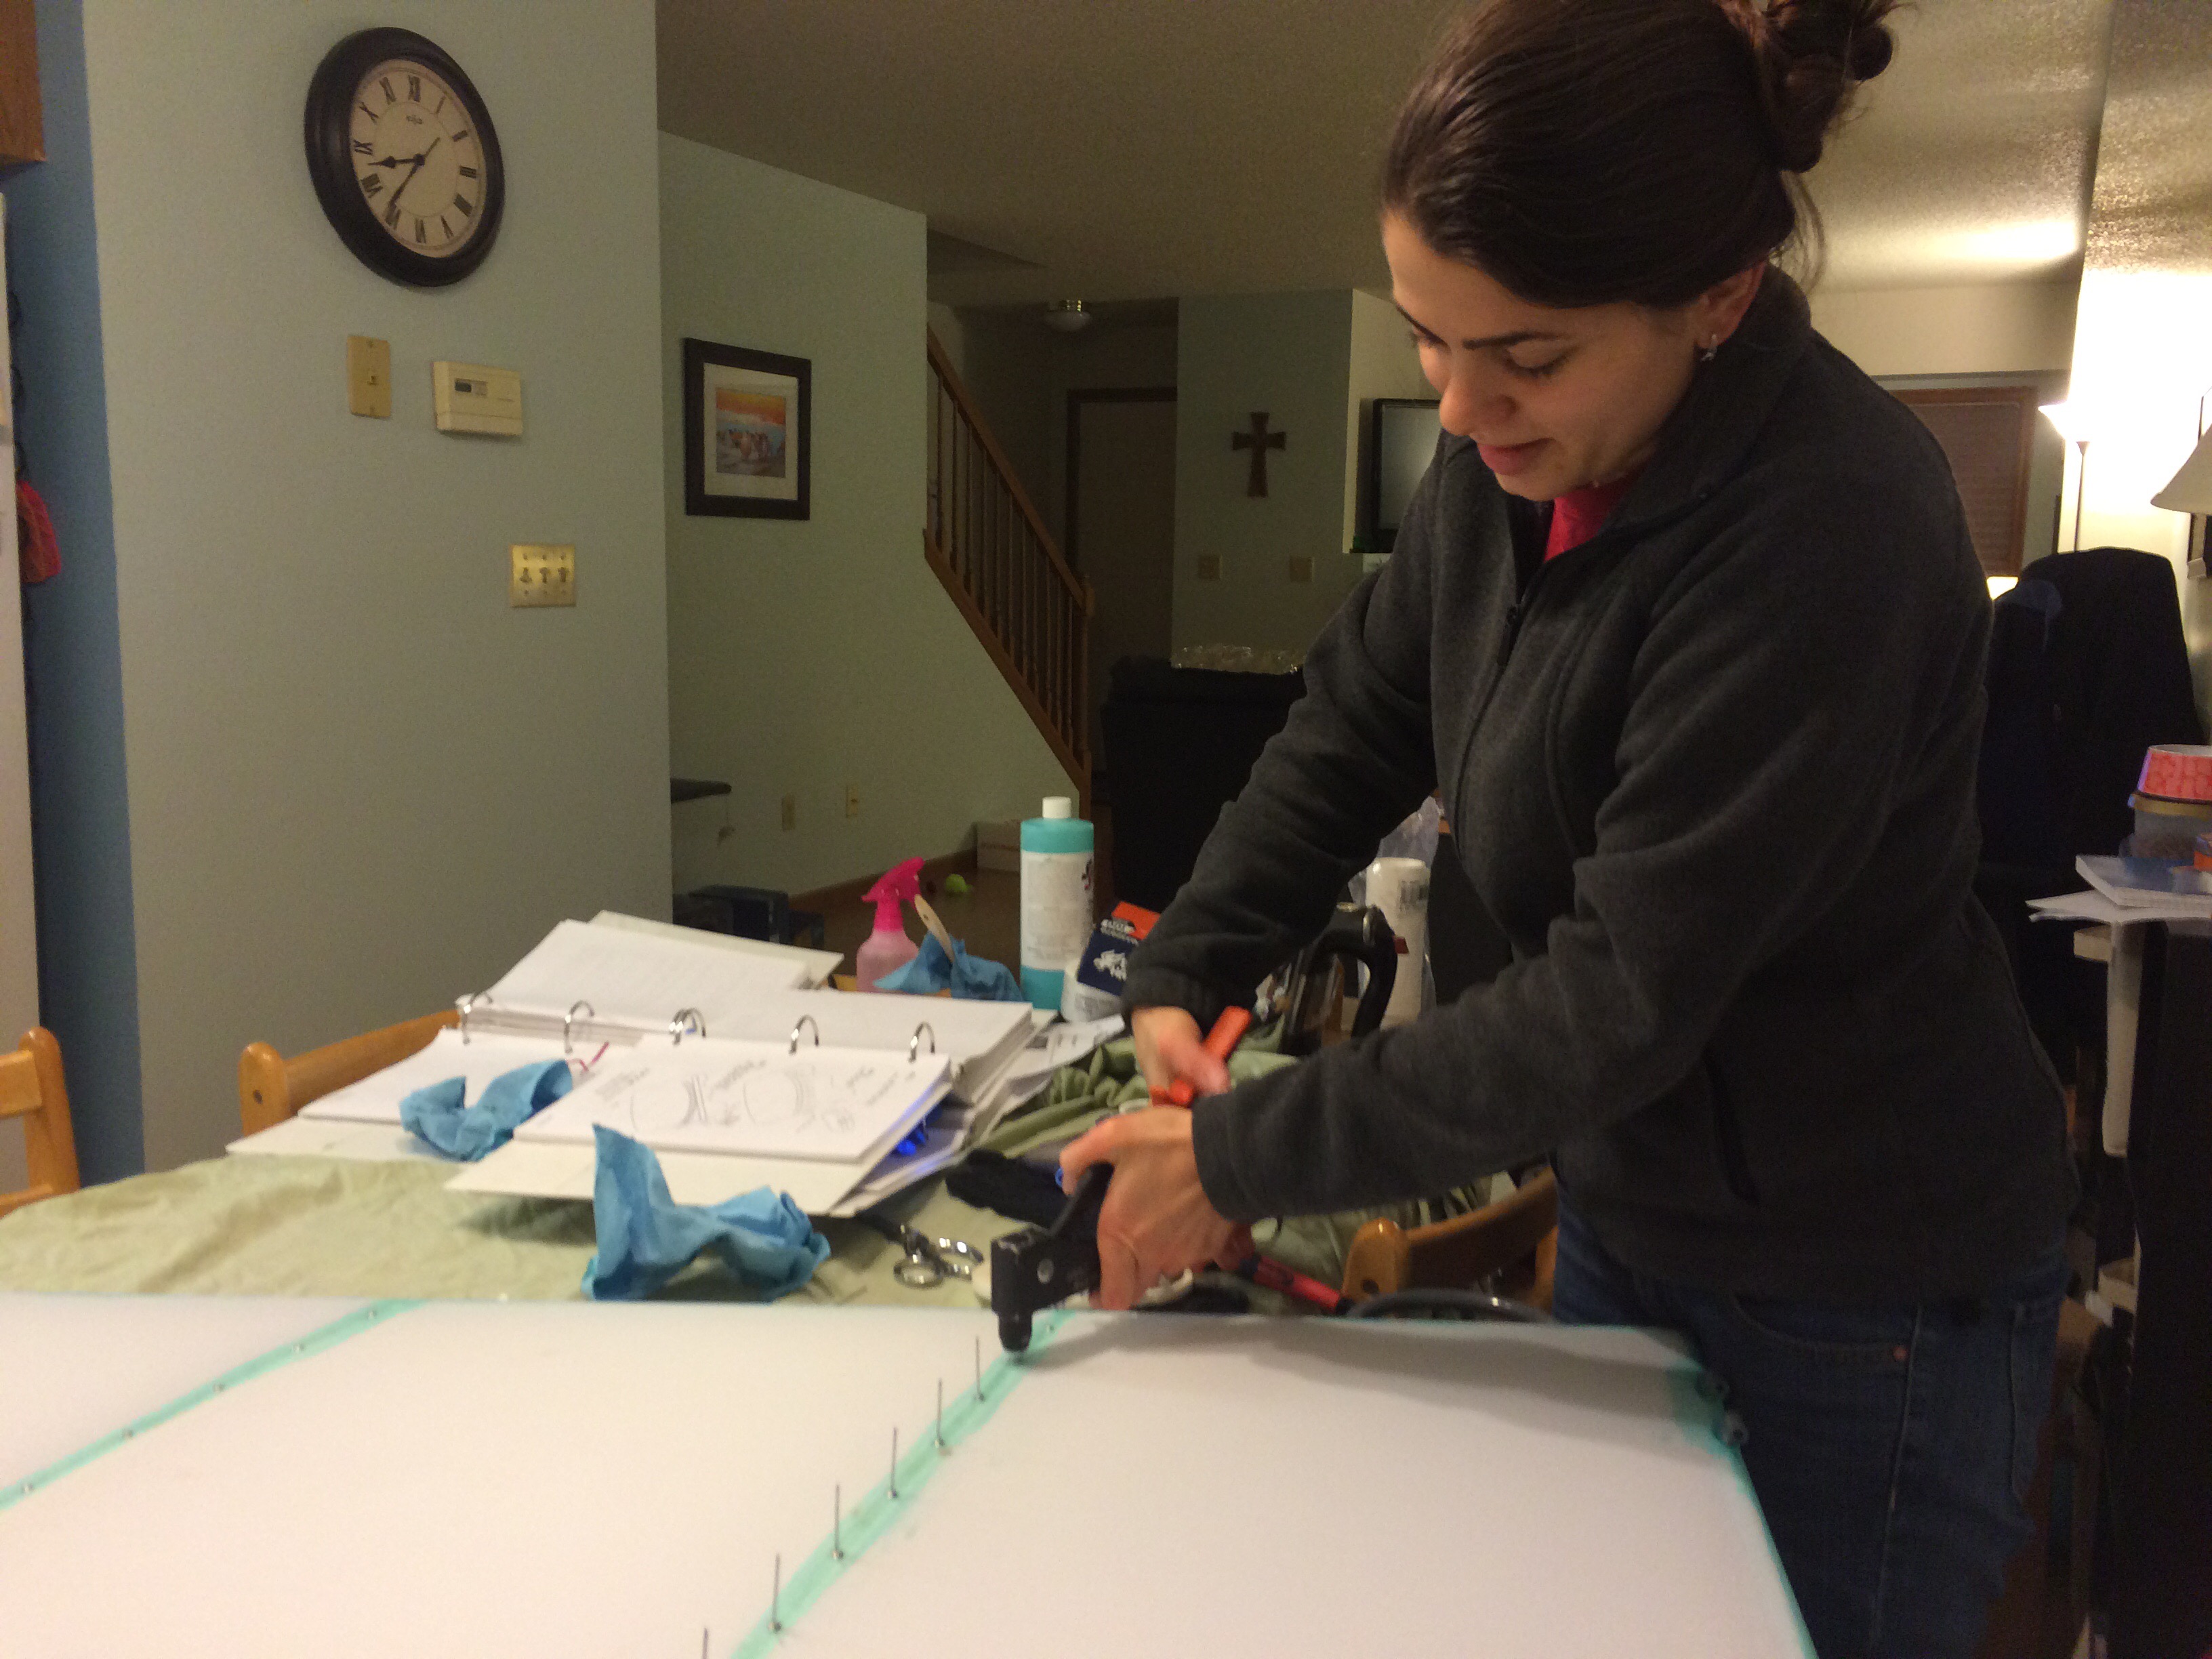
Maria has been excited about the covering process so after I felt comfortable enough, we brought the pieces to the house to start working on the rivets, patches, and tapes. We brought it up to the kitchen table and got to work. I got a neat timelapse (at least I think it is) of our work last night and I’ve also got some pictures of the before stages. I’m working on getting a more complete picture timeline on the next piece.
(3 h Fuselage; 10 h Covering)
[youtube https://www.youtube.com/watch?v=jxTGnl9YkFE&w=560&h=315]


Riveting and covering on the kitchen table
